
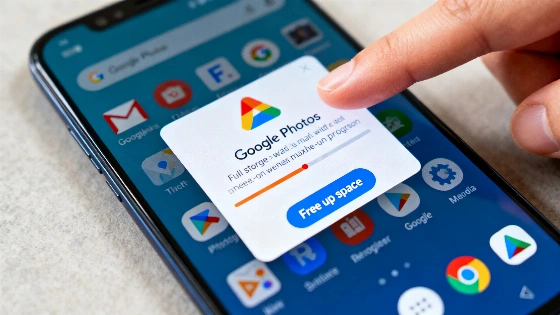
Running out of space on Google Photos can disrupt backups and email. Learn how to reclaim gigabytes by adjusting settings, compressing files, and targeting what really fills your Google account—before you start deleting your favorite photos.
When Google Photos warns that your storage is full, deleting a handful of images from your phone rarely solves the problem. Every Google account comes with 15 GB of free storage, but that space is shared between Google Photos, Gmail, and Google Drive. As a result, a crowded inbox or old attachments can eat into the room you need for new photos and videos.
Once your storage limit is reached, Google Photos stops backing up new content. At the same time, Gmail and Drive may also stop working properly—emails can’t be sent or received, and new files can’t be created. Google makes it clear: exceeding your storage cap affects all connected services, not just your photo library.
Why Storage Runs Out
Many users are surprised to find their Google Photos space exhausted even if they haven’t added many new pictures. The main reason is that storage is pooled across services. For example, years of email attachments or forgotten files in Drive can quietly fill up your quota, leaving little room for photos.
Another common culprit is backup quality. If your phone is set to save photos and videos in “Original quality,” every file is stored at full resolution, which quickly consumes space—especially with today’s high-resolution cameras and 4K video. In contrast, using a compressed backup option can dramatically reduce the storage each file requires.
Switch to Storage Saver
The most effective way to reclaim space is to change your backup settings to “Storage saver.” This option compresses photos larger than 16 megapixels and reduces videos above 1080p to standard high definition. While there’s a slight drop in quality, most users won’t notice the difference in everyday viewing.
To enable this on your phone, open Google Photos, tap your profile picture, go to “Photos settings,” then “Backup,” and select “Backup quality.” Choose “Storage saver” to start saving space with all new uploads. Be aware: if your account is already full, Google may require you to clear some space before you can switch backup quality.
For photos and videos already uploaded in original quality, you can convert them to the compressed format from a computer. Visit photos.google.com, open settings, go to “Manage storage,” and use the “Recover storage” option. Google allows this conversion once per day, and it only affects existing files—not future uploads.
What to Delete First
If you’re still running out of space after compressing your files, it’s time to target what takes up the most room. In Google Photos, large videos are often the biggest offenders—deleting a few can free up more space than removing dozens of images. It’s also worth reviewing old screenshots, blurry photos, and duplicates, which Google Photos often highlights in its cleanup suggestions.
Don’t forget the trash: deleted photos and videos remain in the bin for up to 60 days before they’re permanently erased. Emptying the trash can immediately free up storage, but remember—once files are permanently deleted, they can’t be recovered.
If all else fails, upgrading your storage is the last resort. According to Google’s current plans for Spain, 100 GB of storage starts at €1.99 per month. While a 30 GB Lite plan exists in some countries, it’s not available in Spain as of the latest official information.
For those who rely heavily on Google’s ecosystem, regular storage checks and smart management can prevent sudden disruptions. Reviewing your backup settings and periodically cleaning up large or unnecessary files helps keep your digital life running smoothly.